
Role: Account Holder, Administrator
Account holders and administrators can edit successful student scans, including:
● Answer strings and
● Student demographic information
Edit Answer Strings
To edit the answer strings of a successful student scan:
1. In the Successful students scanned in this session area of the Scan Session Details page, click the name of the student whose answer document you want to edit.

The Student Answer Record appears with the answer strings for the first test expanded.
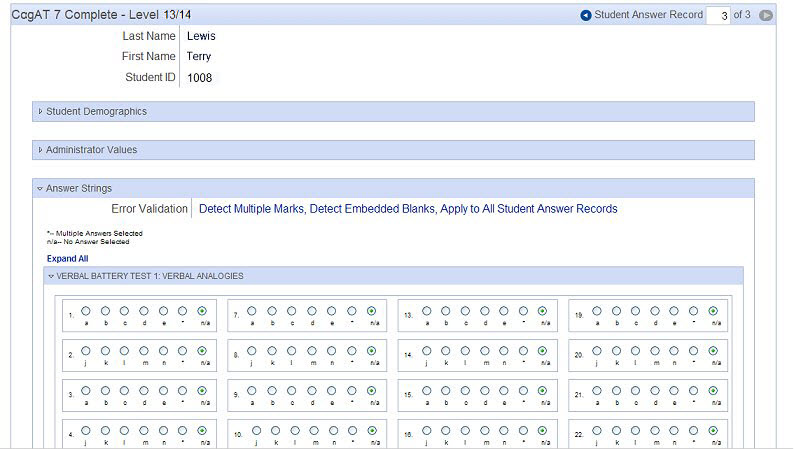
Each test item in the answer string area contains circles for each answer choice (for example, a, b, c, d) plus a circle with an asterisk (*) and a circle with "n/a."
-
- The * circle is filled in if multiple marks were detected for the item.
- The n/a circle is filled in for embedded blanks. (Embedded blanks are questions with no answer choice filled in that lie between questions with answer choices that are filled in; questions with no answer choice filled in that are at the beginning or end of the test are not considered embedded blanks.) For example, in a test with 50 questions, if the answer document contains answers to only questions 5, 15, and 18 and the remaining questions contain no answers, then the Scan Details page will show the n/a circle filled in only for questions 6 through 14, 16, and 17. The n/a circles will not be filled in for questions 1 through 4 or questions 19 through 50 because they are at the beginning and end of the test.
2. View answer strings for other tests by selecting one of the following options:
-
- Click Expand All to view answer strings for all of the tests.
- Click Click here to expand this group to view answer strings for an individual test.
Note: To filter the answer string results, click Detect Multiple Marks, Detect Embedded Blanks, Apply to this Student Only, and/or Apply to All Student Answer Records above the answer string result and select the criteria you want to use. Depending on the criteria you select, fewer answer string results may appear.

3. Compare answers recorded on the answer document to the scanned answer strings. If an answer scanned incorrectly, correct the answer string for that item by manually clicking the answer choice that matches the answer on the original answer document.
4. Do one of the following:
-
- Click Save Answer Strings at the bottom of the answer strings section to save your changes. A confirmation dialog box appears. Click Ok.
- Click Cancel to disregard your changes.
5. After you receive confirmation of your saved changes, click Back to Scan Details at the bottom of the page to return to the Scan Session Details page. See Viewing the Scan Session Details Page.
Edit Student Demographic Information
To edit the student demographic information:
1. In the Successful students scanned in this session area of the Scan Session Details page, click the name of the student whose demographic information you want to edit. The Student Answer Record appears.
2. Click Student Demographics. The demographic information for the student appears.
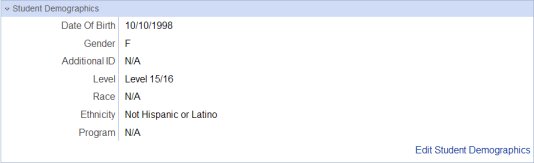
3. Click Edit Student Demographics. The Edit Student page appears.
4. Edit the student information and click Save Student. The student demographic information is updated and the Student Answer Record page appears.
5. Click Back to Scan Details at the bottom of the page to return to the Scan Session Details page. See Viewing the Scan Session Details Page.