-2.png?height=120&name=image%20(1)-2.png)
Data Package: Online Testing or DataPlus
Role: Account Holder, Administrator, Teacher, or Digital Resources & Reporting Access
The REPORT VIEWER allows you to perform the following tasks for the report types indicated.
|
Applies to |
Report Type |
|
|
|
|
|
Data Export |
|
|
*The RIA Student Roster Item Response Record and the RIA Group Roster Item Response Summary reports can only be exported to Excel® if the Export to Excel option is selected when creating the report.
Export a Report to Excel
Note: When you export a DataManager report to Excel, the sort settings will not be retained in the exported report. Additionally, a Multimeasure Student Roster report will not retain color-coded performance band settings when exported to Excel.
To export a report to Excel:
1. Click the XLS button beside the EXPORT label at the top of the report viewer.

Your browser prompts you to save or open the default.xls file.
2. Follow your browser's prompts to save or open the report in Excel. All of the information provided on the report page is provided in separate columns on the Excel spreadsheet.
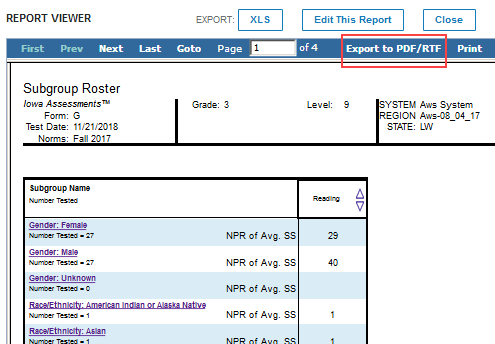
Export a Report to PDF or RTF
Note: To export reports to PDF, you need Adobe® Reader®. You can download a free copy from the Adobe website.
To export a report to PDF or RTF:
1. On the top menu bar, click Export to PDF/RTF. The export dialog box opens.
2. In the Export Report To area, do one of the following:
- Export the report as a PDF:
-
- Select PDF.
- In the PDF Quality list, select the dots per inch (dpi) of the export.
- In the Split Large Pages list, do one of the following:
-
- To allow the exported report to display on multiple pages, select Yes. In the Page Width and Page Height boxes, type the preferred page size of the exported report.
- To scale the report so it displays on one page, select No.
Note: All print settings can be adjusted after the report has been exported. See Print a Report below.
- Export the report in a format compatible with word-processing software such as Microsoft Word®:
-
- Select Fully Editable RTF.
- In the Page Range area, specify the pages to be exported: All, Current page, or Pages. If you select Pages, type the page range to export.
3. (Optional) Do one of the following:
- To view the report in the format you selected, click View Report.
- To save the report in the format you selected, click Save Report. Follow your browser's prompts to save the file.
Export a Data File
Note: Only Account Holders and Administrators can export data files.
To create a data file:
1. Run a data export from the REPORTS CENTER Create a Report tab. (For instructions, go to the online help Table of Contents and click your assessment product under Create Reports.)
2. Click the Report Library tab. When your report is finished running, it appears in the list of reports on the Completed tab.
Note: If your report does not appear immediately in the list of Completed reports, you can click the Pending and Running tabs of the Report Library to check on its status.
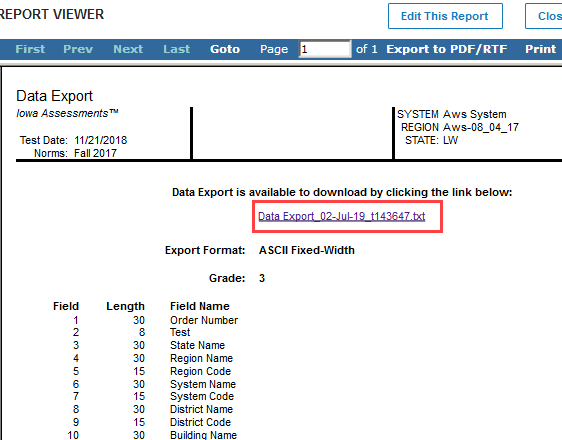
3. On the Completed tab, click the name of your report. The export format and field definitions open in the REPORT VIEWER.
4. Click the linked file name on the page.
To export the data file:
1. Click the name of the data export file in the top center of the report page. Your browser prompts you to open or save the report.
2. Save the report to a location you can easily browse to.
3. Open your Excel application.
4. From the Excel File menu, click Open, browse to the data export file, and select it.
The Excel Text Import Wizard opens.
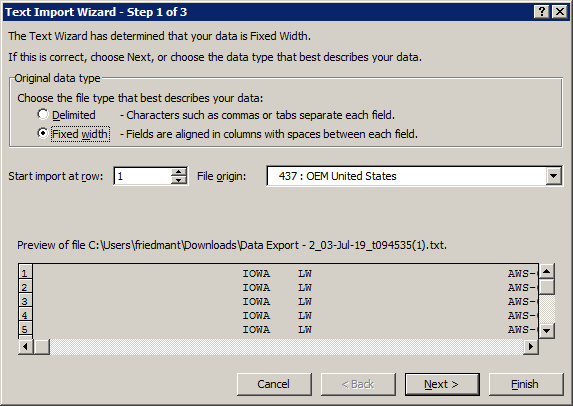
5. Follow the prompts for converting the text to an Excel spreadsheet: data type, column width, and data format. Use the Next and Back buttons to advance through the wizard or return to a previous step.
6. Click Finish.
Your data export appears as designed in an Excel worksheet.
To view the standard or custom file formats used for data exports:
1. Access the DataManager Overview tab by clicking its header.
2. On the Digital Resources card (in the upper right corner of the Overview tab), click the Open Resources button. The RESOURCES page opens.
3. Select DataManager from the drop-down filter.
4. Scroll down to the bottom of the page and click Data Export File Format Documents.
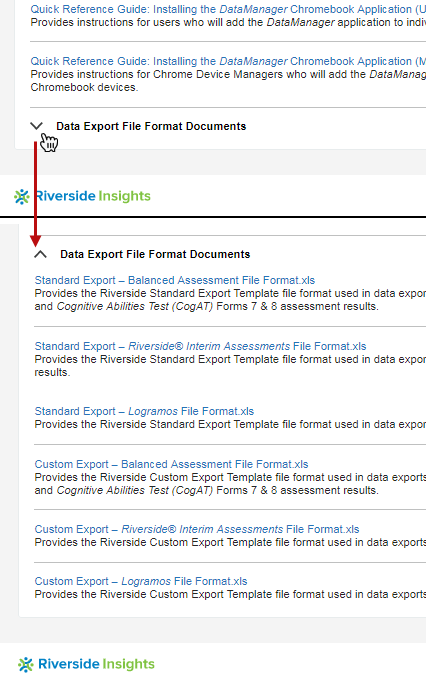
5. Select the format you want to view.
Print a Report
You can print the portion of a report that appears in the browser on your screen, or you can export the report to a PDF or RTF file and print all or some of the report pages.
To print the browser view of a report:
Click the Print option at the top of the report page.
To print a PDF report:
2. Click the Print icon ( ![]() ) on the Adobe Reader toolbar or click File on the top menu bar and select Print. The Print dialog box opens.
) on the Adobe Reader toolbar or click File on the top menu bar and select Print. The Print dialog box opens.
3. Refer to the following table to adjust the settings in the Print dialog box.
Note: Depending on the size of your report, your printer's capabilities, your version of Adobe Reader, and your preferred report display, the printing options and settings may vary.
|
For Display Types: |
Using the paper size: |
Adjust the settings as follows: |
|
8.5" x 11" |
|
|
11" x 17" (tabloid- or legal-size, optimal) |
|
|
8.5" x 11" (letter-size) |
|
4. Click Print.
To print an RTF report:
- Export the report to RTF.
- Open and print the RTF using your word-processing application.
See Also:
View and Edit Reports