
Role: Account Holder, Administrator, or Teacher
A scanning session must be created to scan documents using DataManager™ Optical Mark Recognition (OMR). All answer documents included in a scan session are sent to Riverside Insights Scoring Service™ in one transfer file. The scan session provides a way to organize a group of answer documents by grade or class.
To create a scanning session:
1. Click Test Events from the Assessments header of DataManager. The Test Events Overview page opens.
2. Find the test event to which your session belongs and click its test event name or the Manage link in the Actions column.
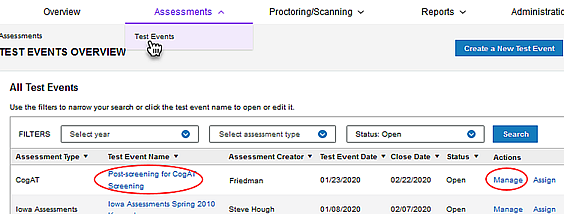
The Test Event page for that event opens.

3. From the Complete Tasks box column on the right, select Scan OMR Answer Documents.
4. The Scan Optical Mark Recognition (OMR) Answer Documents page opens.
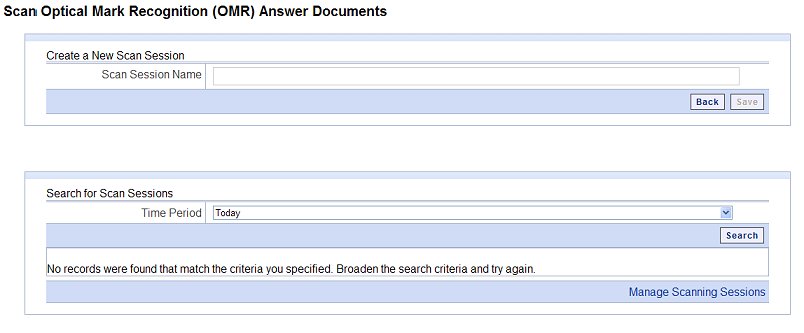
5. In the Create a New Scan Session box, enter a name for the scan session. The scan session name allows you to identify the scanning session when viewing results in DataManager.
Note: The maximum value for the session name is 36 characters. Alphanumeric with special characters and spaces are allowed.
6. Click Save to save the scan session. The saved session is available in the Search for Scan Sessions box.
7. Do one of the following:
-
- To return to the Edit Test Event overview page, click Back.
- To scan documents and import the results, continue with Scan Answer Documents.