-2.png?height=120&name=image%20(1)-2.png)
Available to users with Account Holder and Administrator roles only. Provides a file in a standard or custom template containing data on test results.
Data Export files are available to users with Account Holder or Administrator roles.
These files contain data for a test event and can be exported as .txt files in the following formats:
- ASCII Fixed-Width
- ASCII Tab-Delimited
- ASCII Comma-Delimited
- ASCII Pipe-Delimited.
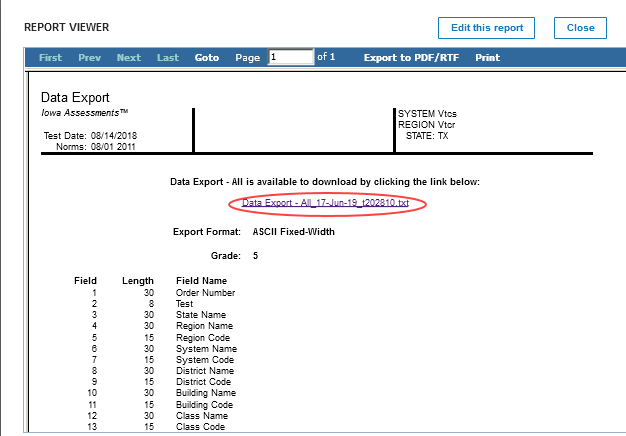
The data is available to be downloaded after a report has been run. To do this, click the link on the report page as shown below.
When you create a Data Export file, you can choose to export it using a standard or a custom format.
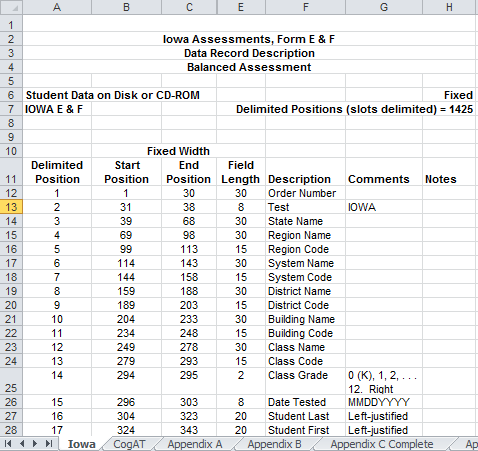
The standard format, shown below, details how information is organized in the Data Export file. The sample tab and resulting display are set to Iowa.
The custom template, shown below, allows you to select fields to include, specify the order of the fields, and rename the fields. The sample tab and resulting display are set to Iowa.

Instructions: Click to open a table with definitions for the remaining fields. When you have entered your report parameters, continue with the next step.
The following table applies to data exports for all assessment products.
a. Click Change to open the CUSTOM DATA FIELDS modal.
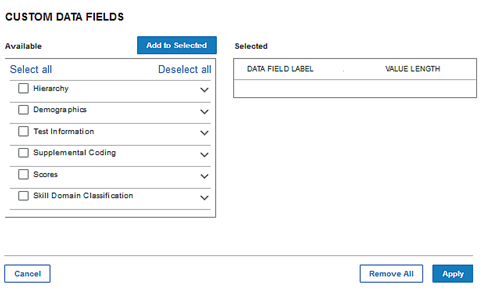
b. In the Available box on the left side of the page, select the check boxes of the fields you want to appear on the report. Use the Select all/Deselect all controls, the general category check boxes (such as Hierarchy), and/or the down and up arrows to view and select individual or groups of fields.
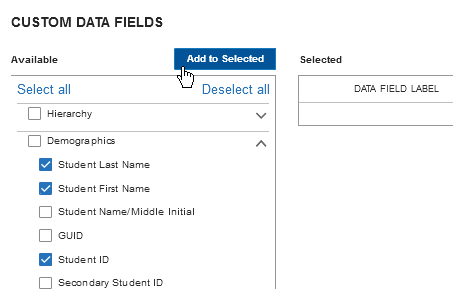
c. Click the Add to Selected button. The fields move to the Selected box on the right side of the page.
d. Do any of the following:
- To change the order of the selected fields in the report output, click the bar of the field you want to move and drag it to the place you want it to appear.
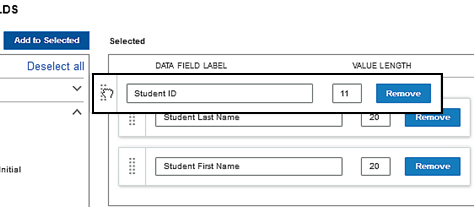
- To change the name of a selected field, select the text for DATA FIELD LABEL and type the new field name.
- To change the maximum length of a selected field, select the character number for VALUE and type the new field length.
- To remove a field from the data export, click the Remove button in the field's row.
e. When all fields are selected and placed in order, click the Apply button.
The categories of your custom selections are listed in the CUSTOM DATA FIELDS of the Create a Report tab. To view or edit specific fields, click Change and follow this procedure, as needed.